maya场景动画人物插画制作
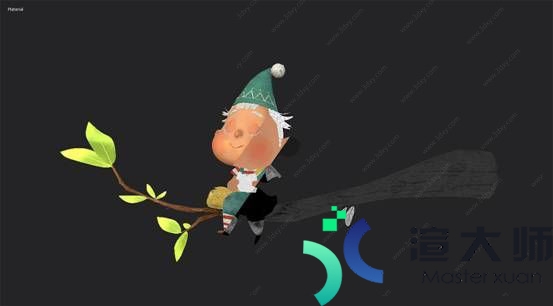
你好! 我非常感谢有机会分享我的3D作品之一。 这个3D渲染是基于Gop Gap的美妙插图。!Hello there! I'm very grateful to have this opportunity to share the making of of one of my 3D pieces. This 3D render is based on the wonderful illustration by Gop Gap called Yummy!
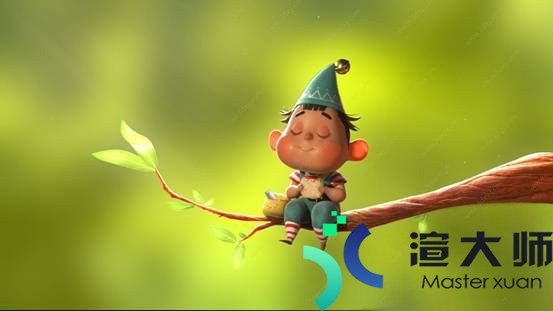
Step 1: Modeling & SculptingI poly model and UV the easier props, such as the branch, leaves, bag, feather and sandwich before going to ZBrush. For the character however, I jump straight into ZBrush, as I find it that I am able to easily change shape as I go. I start with basic shapes such as spheres, cylinders and so on.When I block out the character I then start dynameshing, sculpting and up res-ing.步骤1:建模与雕刻我的模型和紫外线更容易的道具。如分枝。叶子。袋子。羽毛和三明治。然后去ZBrush。 然而。对于角色。我直接跳到ZBrush。因为我发现我能够轻松地改变形状。因为我去。 我从基本的形状开始。如球体。圆柱体等等。当我屏蔽字符时。我开始动画。雕刻和升级。
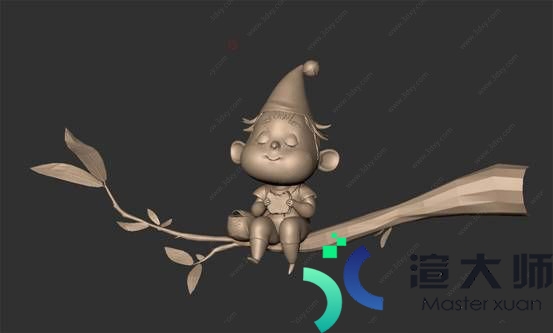
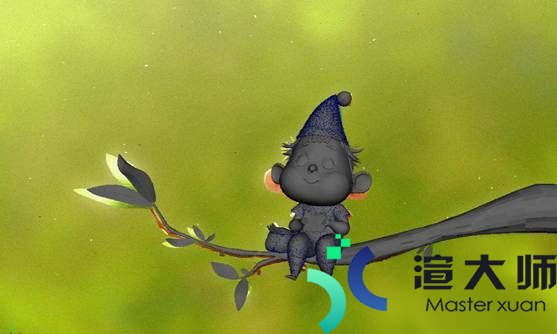
Step 2: UVingI then bring back the character back to Maya and use Quad draw to retopologize. In Maya, I can also check to see if the model's pose is matching the concept by having the concept projected onto an image plane. I adjust some areas using soft selection.步骤2:UVing然后我将角色带回Maya。并使用四线绘画来重新定位。 在Maya。我还可以通过将概念投影到图像平面上来检查模型的姿态是否符合概念。 我使用软选择来调整某些区域。
Step 3: Sculpting finer details in ZBrushFor skin, I apply a little bit of noise to create some slight break up using Surface > Noise. For the clothes, I gather some photo references of fabrics and use Photoshop to make the images black and white, and apply a high pass. To do so, it is Filter > Other > High Pass. I usually put the high pass setting to 10. I then apply these maps on ZBrush by using the Surface > Noise and plugging in the height map on the alpha and start adjusting the scale.步骤3:在ZBrush中雕刻更细的细节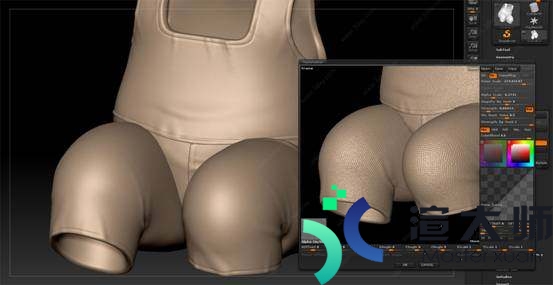
对于皮肤。我应用一点噪音。使用Surface> Noise创造一些轻微的分解。 对于衣服。我收集一些面料的照片参考。并使用Photoshop使图像成为黑白。并应用高通。 为此。它是过滤器>其他>高通。 我通常将高通设置设置为10 然后。使用Surface> Noise并在alpha上插入高度图。然后开始调整刻度。将这些地图应用于ZBrush。Step 4: TexturingFor texturing, I used Substance Painter. I use a combination of photographed textures and hand painted textures, to give the piece a realistic yet painterly look. I like using Substance Painter as I can somewhat see how the texture map will appear when I plug it into the shader. There are times when adjustments will need to be made to the maps, but I usually do so using ramps in Maya.步骤4:纹理化对于纹理。我使用Substance Painter。 我使用拍摄的纹理和手绘纹理的组合。给这件作品一个现实但画家的外观。 我喜欢使用Substance Painter。因为我可以看到当我将其插入着色器时。纹理贴图将会出现。 有时候需要对地图进行调整。但我通常会在Maya的坡道上进行调整。
想了解更多有关maya方面的知识。请继续关注渲大师。
本文地址:https://gpu.xuandashi.com/27726.html,转载请说明来源于:渲大师
声明:本站部分内容来自网络,如无特殊说明或标注,均为本站原创发布。如若本站内容侵犯了原著者的合法权益,可联系我们进行处理。分享目的仅供大家学习与参考,不代表本站立场!


